
Photo: SKF USA Inc.
Protecting industrial shaft seals from failure.
Industrial shaft seals in rotating machinery primarily function to retain lubricant, exclude contaminants (such as dust or moisture), separate media (including lubricant), and/or confine pressure. In turn, they protect bearing arrangements, optimize bearing service life and reliability, and contribute toward the overall operating health of machinery.
At work across industries, radial shaft seals are among the most prevalent types. They seal the opening between a rotating and a stationary component or between two components in relative motion. To be effective, industrial shaft seals should operate with a minimum of friction and wear, even under unfavorable operating conditions.
In order to meet the requirements of a variety of different applications and operating conditions, seals can be manufactured from many different designs, materials, and executions. Each design and material combination will exhibit specific properties, making a seal suitable for a particular application.
Nevertheless, seal performance may be compromised by various factors and leakage can follow. Detecting the common seal failure modes and the possible root causes offers a best practice in making a fix and preventing the recurrence of problems down the road.
Failure modes and solutions
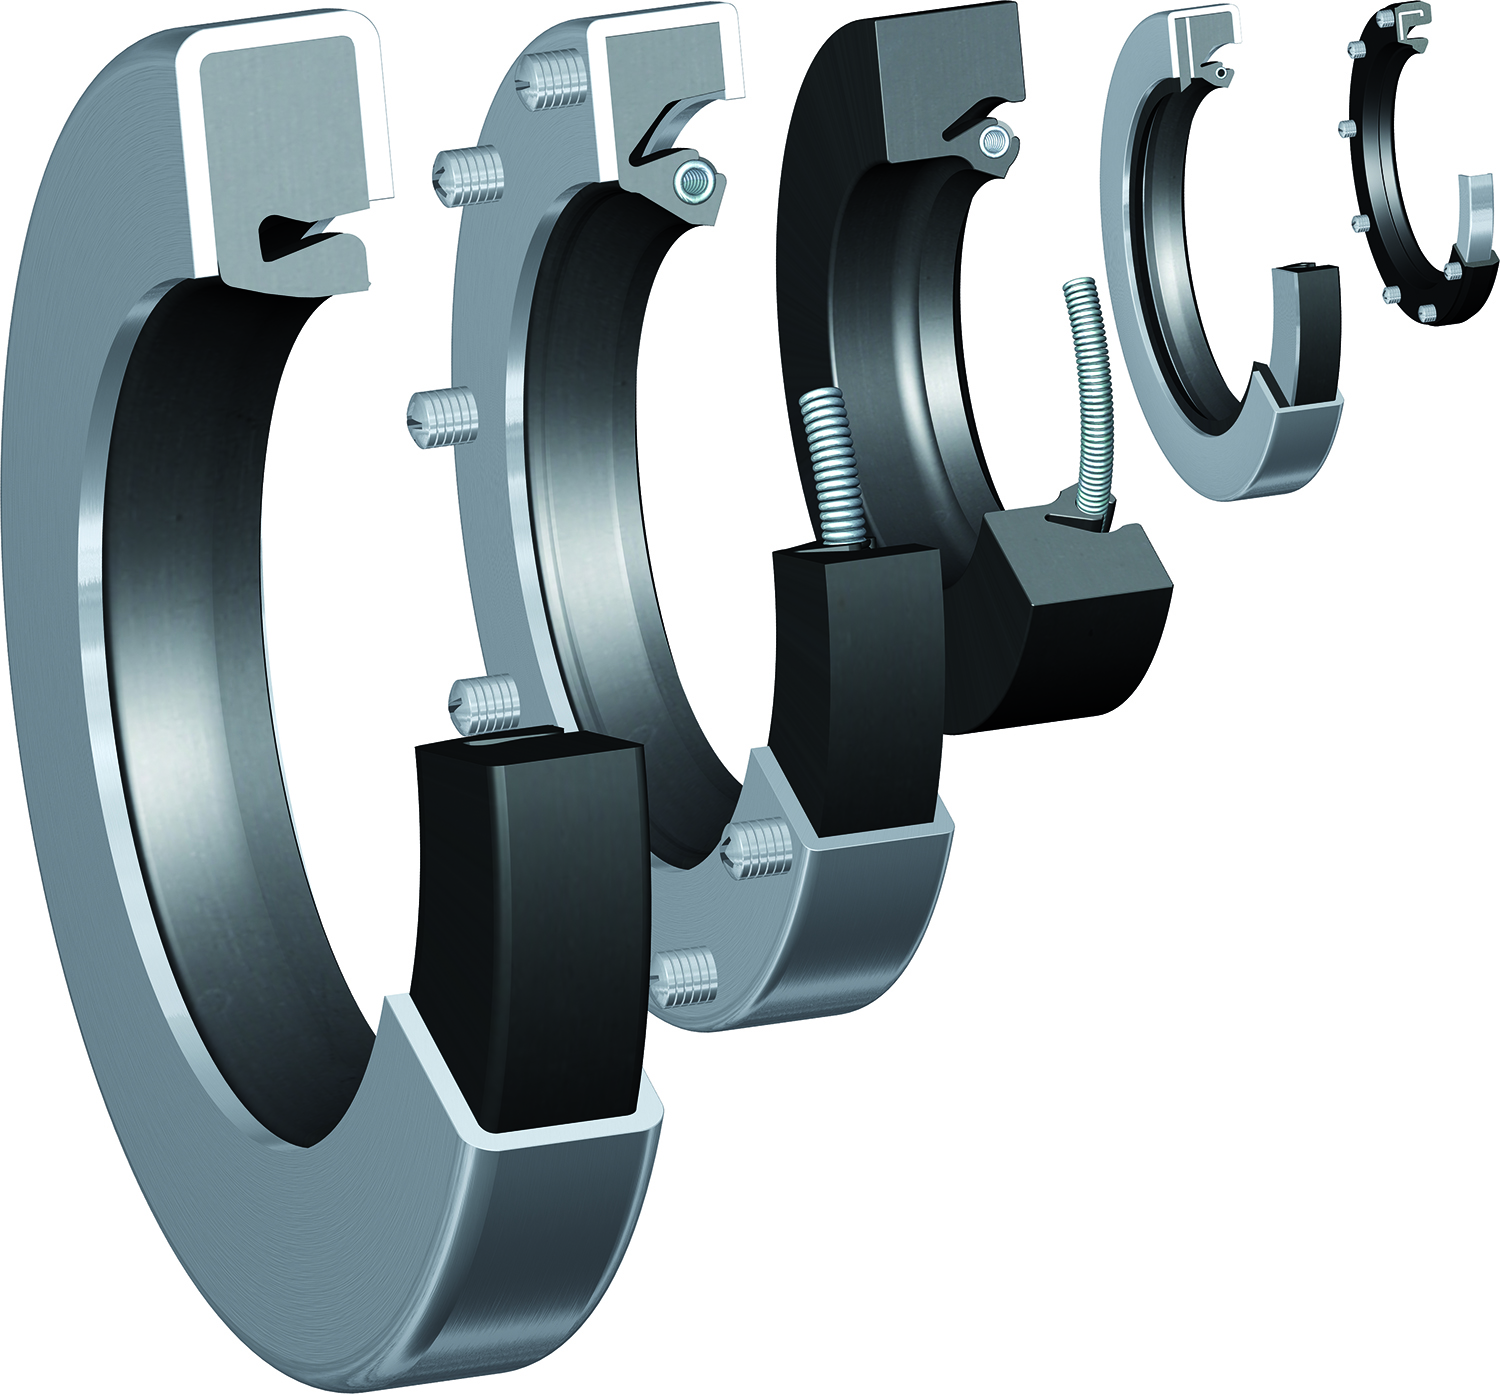
Hundreds of different radial shaft seal designs and material combinations have been standardized over the years, and custom versions can be engineered to meet application demands and operating conditions.

Photo: SKF USA Inc.
In general, a radial shaft seal’s design consists of a cylindrical outer covering of sheet steel (the ‘case’) or an elastomer providing the requisite interference fit to seal statically against the housing bore. In addition, a sealing lip made from an elastomeric or thermoplastic material enables sealing dynamically and statically against a shaft.
The sealing lip, essentially, the contact area of a seal – is designed with an interference and normally pressed against a shaft’s counterface surface with a defined radial load which is support by a spring. The edge of the sealing lip and the shaft counterface surface ultimately form the most important functional area.
In day-to-day operation, a seal may begin to fail for a variety of reasons – not necessarily due to a problem originating with the seal itself but, instead, often resulting from one or more underlying root causes. Telltale signs will help point the way.
Installation damage: Improper or worn seal installation tools, direct contact on a seal with a hammer, an inadequate lead in the chamfer of the bore, or an undersized bore can adversely impact seal performance and service life.

Photo: SKF USA Inc.
Among preventive actions, the proper bore chamfer should always be consistent with recommendations, the bore diameter should be checked, the right installation tools for the specific installation procedure should be used, and the installation procedure should be scrutinized and perhaps reevaluated.
Excessive wear: Possible causes (beyond the seals simply reaching its normal end of life) include elevated internal operating pressure, ingress of external or internal contaminants, excessive radial load or interference, lack of adequate lubrication, incorrect seal material for the application, and/or a rough
shaft running surface.
Among potential solutions, contamination sources should be identified and removed, a high-wear seal material can be substituted, increased lubrication at the lip interface may be appropriate, and radial loads should be evaluated with an eye toward reductions.
Nicks, scratches, or cuts in the lip contact area: Cuts and similar damage in a seal’s lip can cause a gap in shaft contact and render a seal ineffective. Most often, such damage will be linked to manufacturing or installation issues. Perhaps inconsistent trimming was performed during manufacturing, the seal was improperly packaged or handled, a sharp edge of an installation tool inflicted damage, or the seal was originally installed over defects in a machine’s shaft.
In these cases, corrective actions include protecting the seal’s lip by covering spines, keyways, and holes with a chamfered sleeve or tape; keeping screwdrivers and other sharp tools away from a seal’s lip, and regularly inspecting seal lips before installation.

Photo: SKF USA Inc.
Irregular or damaged shaft surface finish: An excessively rough shaft may accelerate lip wear in a seal, while an overly smooth shaft may result in leakage. The usual suspects include a poor shaft-grinding process (or none at all), installation or handling damage to a shaft prior to assembly, ingress
of contaminants, or even the hardness of a shaft being too soft for the application.
As proactive initiatives, a seal’s surface finish and shaft lead should be measured and compared to industry standards, visual damage or irregular surface characteristics should be checked, and shaft packaging during handling and transport should be reevaluated.
Sludge or varnish-like deposits on the seal lip and/or shaft: These are symptoms of lubricant
breakdown. Sometimes heat is high enough to break down the lubricant but not enough to harden a seal’s lip. In such cases, sludge accumulates and deposits on the seal lip.
Corrective actions include reducing the operating temperature (if possible), using a seal designed for high temperatures (such as fluoroelastomer types), and confirming that the properly compatible lubricant is being used. (It also helps to change lubricant regularly.)

Photo: SKF USA Inc.
Inverted seal lip: Poor assembly procedures and/or high internal operating pressure are typical causes. Switching to another design (such as one without springs or a design with a garter spring) can help prevent this condition. If the failure is pressure-induced, substituting a pressure seal is recommended. In addition, the installation tool and/or procedure may require modification.
Pressure blowout: This occurs when the cavity pressure exceeds seal design limitations and can be evidenced by extreme lip wear and leaking. Excessive pressure can crush a seal’s lip against a shaft, eventually force a seal’s garter spring through the lip, and blow the lip completely off. Among remedies,
check the seal cavity for excess pressure, provide vents in the cavity to reduce pressure, and definitely use a seal designed for high-pressure conditions.
Asking the right questions
When a seal leaks or is otherwise compromised, the troubleshooting process begins by asking the right questions and then following a sequence of steps for analysis.
• What was the seal supposed to do and how well has it performed in the past? If there is a history of failures, the culprit may not be the seal.
• Was it the right seal? Check the seal’s part number and review recommended applications. If the correct seal has been installed properly and there is no history of repeated failures, the problem will require further investigation.
• What is the source of the leak? It will be helpful as reference points to determine whether the leak is in the inner diameter or the outer diameter of the seal and when the leak first occurred.
• In the case of exceptional seal wear, what is the cause? Failure analysis will almost always be necessary for the answer.
When attempting to identify a source of seal leakage, these guidelines can help:

Photo: SKF USA Inc.
Inspect the seal before removal by checking the condition of the area and noting the amount (and apparent source) of leakage that has occurred. (If the source of the leakage cannot be located, add ultraviolet dye to the sump or spray the area with white powder, operate for 15 minutes, and then check for leakage using ultraviolet (or regular) light.
Wipe the area clean and look for nicks on the bore chamfer, cocked seal in the bore, improper installation, shaft-to-bore misalignment, looseness, or a deformed seal case. All can impact seal effectiveness.
Rotate the shaft to determine whether there is excessive end-play or excessive run-out, which can indicate misalignment issues.
When the seal is removed, check for rough bore surface, shaft cleanliness, coked lube on the seal, shaft damage, flaws or voids in the bore, and shaft corrosion or discoloration. These will influence seal performance.
Ascertain the seal style and materials and then inspect for excessive lip wear. This condition may suggest that the seal may not be getting enough lubrication or that the shaft may be corroded.
Tips for extending seal life
Regardless of application, adhering to the basics can contribute significantly in realizing optimized seal and equipment outcomes over time.
• Never reuse a worn seal
• Store seals properly in a cool area at 40 per cent – 0 per cent humidity
• Never hang a seal on a peg or nail
• Keep the storage area free of grit and contaminants
• Select the correct seal for an applications speed and media
• Compare operating temperature against lip material specs
• Confirm that the lubricant is compatible with lip material
• Chamfer the leading edge of the shaft
• Vent the seal cavity to prevent pressure buildup
One of the most important steps on the road to success in dealing with sealing problems is to partner with a provider possessing demonstrable experience in seal design, manufacture, simulation and testing, and installation technologies, among other areas of expertise. Such a resource can prove invaluable in keeping sealing systems performing as intended.
——————-
Bryan Uncapher is Director, Product & Business Development-CR Seals at SKF USA Inc. He can be reached at bryan.s.uncapher@skf.com
Advertisement
Stories continue below